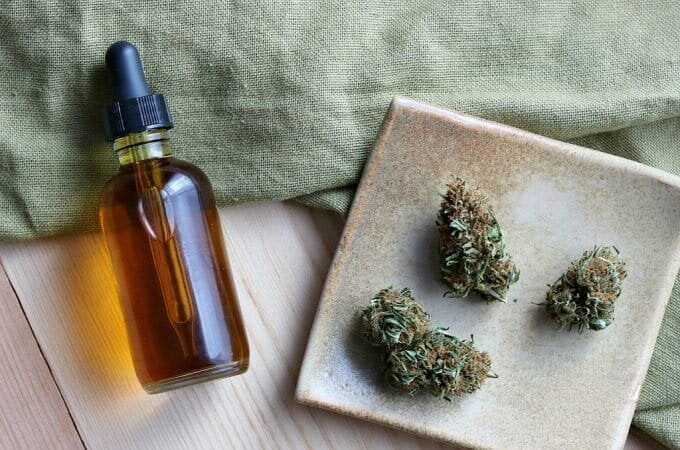
Before vaping, dabbing and THC-infused wine was even a thought, people have been using cannabis in tincture form. Even before cannabis prohibition, the most common method of ingesting cannabis for medical use was in tinctures. So what are they? And how do you make them?
Tincture 101:
Tinctures are any medicine made by dissolving a drug in alcohol. The three most common forms of cannabis tinctures contain THC, CBD, or various combinations of the two in different ratios. Tincture as a method of consumption has some advantages over the others. Smoking, although felt within minutes, irritates the lungs. Edibles offer a smoke-free option but take longer to take effect which could result in accidental overconsumption. Tinctures are absorbed sublingually and take effect faster than edibles, within 15-45min by absorbing directly into the bloodstream. This makes tinctures a great choice for easy, safe, and fast consumption.
How to make your tincture:
Here is what you need:
- ½ ounce of cannabis
- High alcohol by volume liquor.
- Cheesecloth or fine mesh strainer
- Mason jar with lid
- Grinder
- Glass dropper bottles
- Pan
- Aluminum Foil
- Glass Measuring cup
- Gloves
Step 1 – Decarboxylation
Decarboxylation is the magic behind making cannabis a potent additive to food. Simply put, it’s a chemical reaction that is achieved through heating up raw cannabis to a temperature at which it releases a carboxyl group and becomes psychoactive. Start by grinding up your cannabis or break it down into smaller pieces and fill the oven-safe pan with them. Cover the pan with aluminum foil so the weed doesn’t get hot enough to burn or vaporize. Bake in an oven that has been preheated to 230 degrees Fahrenheit for 110 minutes.
Step 2 – Storage
Store the cannabis that you now have decarboxylated into a mason jar and then fill it with the high volume alcohol just enough to have all the cannabis submerged. Seal the jar and store.
Step 3 – Shaking
You will need to find a cool, dark space to store the mason jar for several days up to two weeks. You will need to shake the jar every day. It has also been highly recommended to store it in a freezer. The cold helps to separate the chlorophyll and other less wanted components of the plant.
Step 4 – Straining
By day 10, the liquid should be green and ready to be strained. While wearing gloves, put a cheesecloth inside the measuring cup and start pouring the liquid from the jar into the cup. Make sure to squeeze the liquid out of the cloth at the end. You can repeat the process with a new cheesecloth if needed.
Step 5 – Filling Dropper and Storage
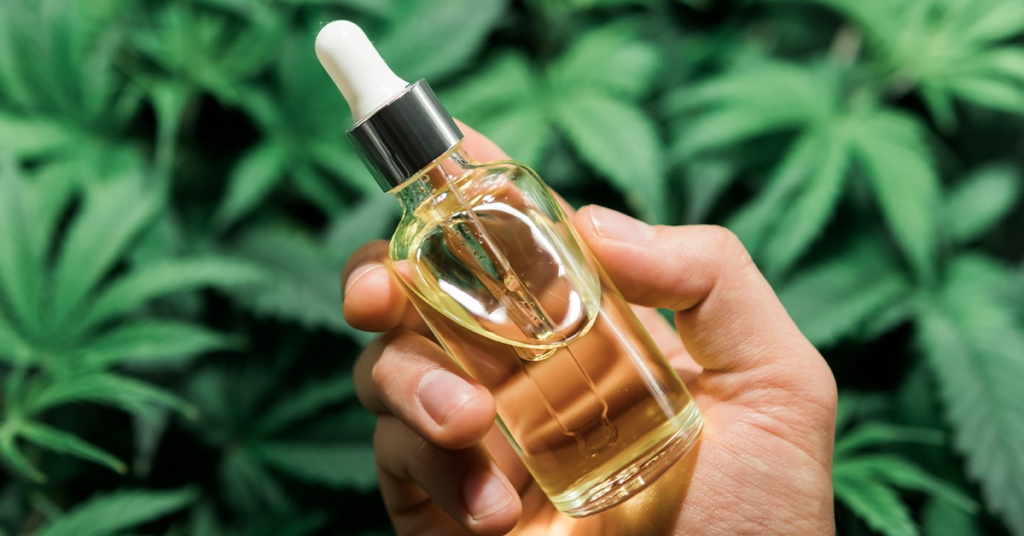
The final step is to transfer all the content into the glass dropper bottle. A dropper is the easiest way to properly control your dosing. Make sure to always store the tincture in a cool dark place to prolong the shelf life and potency.

